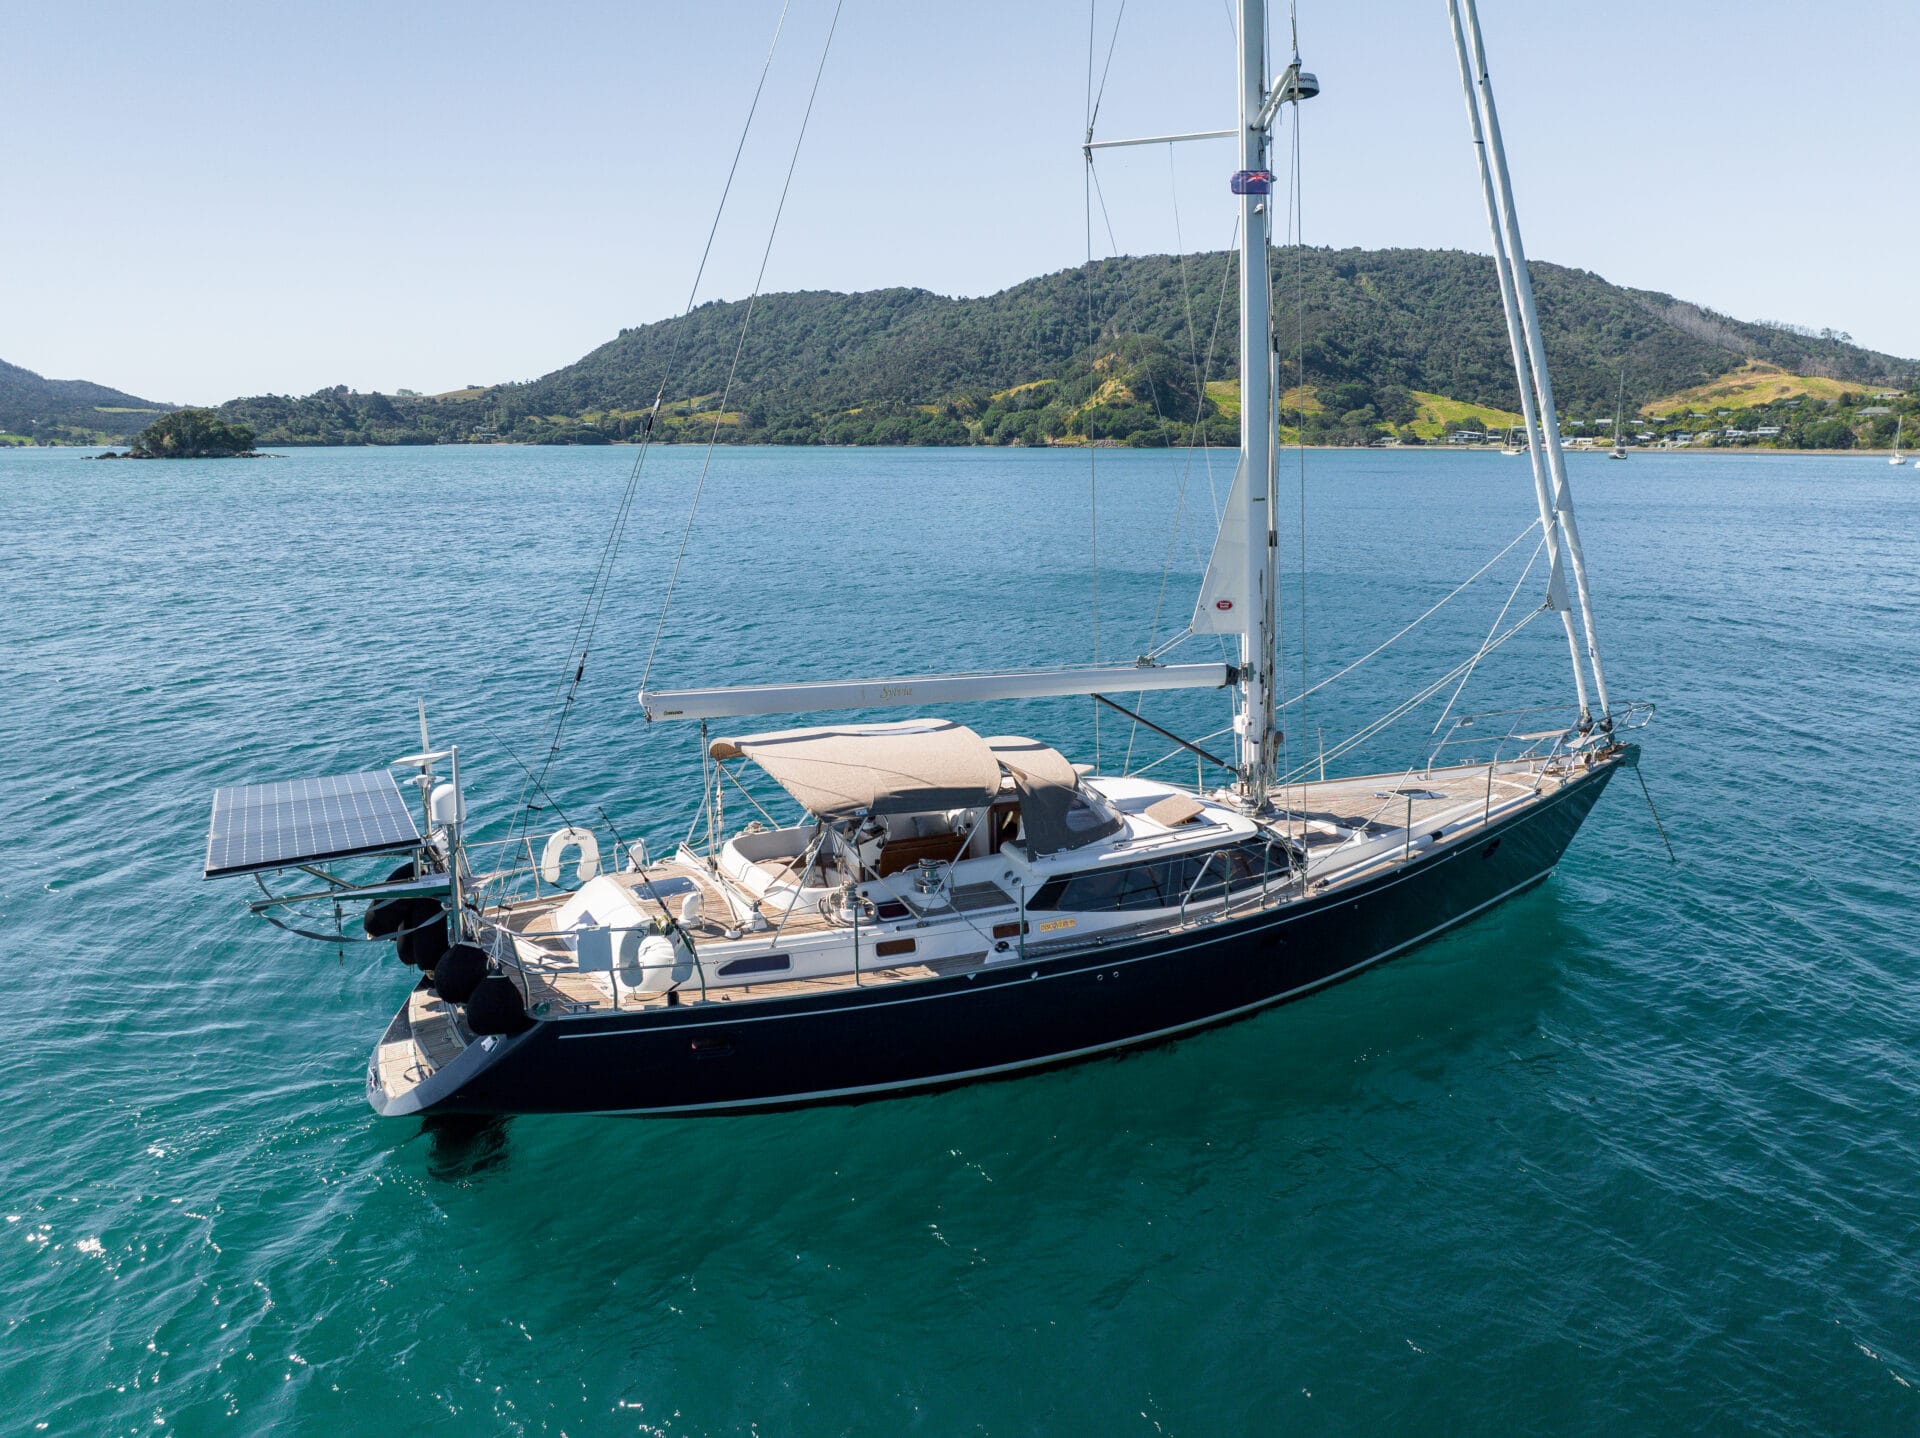
Great photos sell boats. It’s that simple. In a market where buyers scroll through dozens of listings on their phone, the quality of your photos determines whether they click on your listing or keep scrolling.
You don’t need a professional photographer or expensive equipment. With a modern smartphone, good preparation, and the techniques in this guide, you can take photos that make your boat stand out from the competition and attract serious buyers faster.
Why Photos Matter More Than Anything Else
Consider this: buyers cannot visit every boat in person. Before they drive three hours to view a vessel, they’ve already made a decision based on your photos. If the photos are dark, blurry, or show a messy boat, they move on. If the photos are bright, detailed, and show a clean, well-maintained vessel – they pick up the phone.
Listings with high-quality photos receive significantly more enquiries than those with poor photos, even when the boats are otherwise comparable.
Step 1: Prepare the Boat Before You Shoot
No photography technique will save a dirty or cluttered boat. Preparation is 50% of the job.
Exterior preparation:
- Wash and polish the hull – a clean, shiny hull photographs dramatically better
- Remove all ropes, fenders, and clutter from the deck
- Fold or stow all sails neatly
- Clean the cockpit – wipe down all surfaces, remove cups, cushions and personal items
- Clean the windows and portlights inside and out
- If the boat is in the water, clean the waterline of any growth or staining
Interior preparation:
- Clean every surface thoroughly
- Remove all personal items – photos, clothing, toiletries, food
- Fluff and arrange the cushions neatly
- Open all curtains and blinds to maximise light
- Remove items from countertops in the galley
- Clean the heads (toilet) thoroughly – buyers always look
- Empty and clean the bilge
Pro Tip: Spend a full day on preparation before you shoot. A well-prepared boat takes 30 minutes to photograph. A poorly prepared boat takes hours and still produces bad results.
Step 2: Choose the Right Time and Conditions
Light makes or breaks boat photography. The difference between photos taken in ideal conditions and photos taken in poor conditions is dramatic.
Best time to shoot:
- Golden hour – the hour after sunrise or before sunset. The warm, low-angle light makes any boat look beautiful and creates an emotional, aspirational mood.
- Overcast days – a bright overcast sky acts as a giant diffuser, eliminating harsh shadows and producing even, flattering light. Often better than direct midday sun.
- Never in harsh midday sun – creates deep shadows in the cockpit and interior, washes out colours, and makes the boat look flat.
Weather conditions:
- Calm water reflects the boat beautifully and makes for cleaner exterior shots
- A slight breeze can make sails look attractive if you’re shooting under sail
- Avoid shooting in rain or just after rain – wet decks can look dirty in photos
Background:
- A clean marina with blue water is ideal
- Avoid shooting with cluttered backgrounds – other boats, trailers, or industrial facilities behind the boat distract from the subject
- If possible, move the boat to a cleaner location for the shoot
Step 3: Equipment – What You Need
Smartphone: A modern smartphone (iPhone 12 or newer, Samsung Galaxy S21 or newer) shoots excellent photos in good light. Use the standard camera lens, not the ultra-wide, which distorts proportions.
Optional extras that make a real difference:
- Small tripod or gorilla pod – eliminates camera shake in lower light, especially for interior shots
- Wide-angle lens attachment – helps with interior shots in confined spaces. Keep it subtle – extreme wide angles distort and mislead buyers.
- Polarising filter – reduces reflections on water and windows dramatically. Available for smartphones for under €20.
What you don’t need:
- A drone (impressive but not necessary for most listings)
- Professional lighting equipment
- A camera with interchangeable lenses
Step 4: Exterior Shots – What to Include
Plan to take at least 15–20 exterior shots. Here is exactly what to include:
Essential exterior shots
Full profile shots:
- Port side full profile – the classic boat photo. Stand far enough back to get the whole boat in frame with space around it.
- Starboard side full profile
- Both shots should be taken at water level if possible – crouch down or shoot from a dinghy for the best angle
Bow and stern:
- Bow-on shot – dramatic and shows the hull shape
- Stern-on shot – shows the transom, swim platform, and stern gear
Cockpit:
- Looking forward from the stern
- Looking aft from the companionway
- Close-up of the helm station and instruments
- Winches and deck hardware
Deck details:
- Mast base and boom
- Furling systems
- Anchor and windlass
- Any notable deck equipment
Hull close-ups:
- Waterline (clean antifouling looks good)
- Keel if visible
- Any significant features or upgrades
Under sail (if possible)
If you can arrange to photograph the boat under sail, even a short trip outside the marina, these photos are extremely powerful. A boat heeled slightly under sail with full canvas up is the most aspirational image you can create.
Step 5: Interior Shots – What to Include
Interior photography is the most technically challenging part of boat photography. Spaces are confined, light is limited, and the camera tends to exaggerate clutter.
Essential interior shots
Saloon:
- From the companionway looking forward
- From the forward end looking aft
- Close-up of the nav station
Galley:
- Overall shot showing the full galley layout
- Open the lockers and show storage space – buyers want to see this
Cabins:
- Each cabin with the berth made up neatly
- Show headroom if it is a selling point
Heads:
- Clean, open, well-lit. Buyers always check.
Engine:
- Overall engine bay shot
- This signals transparency and confidence in the boat’s condition
Bilge:
- A clean, dry bilge is a powerful trust signal. Show it.
Storage:
- Anchor locker, cockpit lockers, under-berth storage
Interior photography technique
Light is everything:
- Open every hatch, portlight and companionway
- Shoot in the daytime with maximum natural light
- For evening shots, turn on all interior lights for a warm, inviting atmosphere
Angle:
- Shoot from the lowest position possible – crouching or lying down opens up the space
- Shoot from corners to show the maximum amount of the space
Avoid:
- Shooting directly towards windows or hatches – the camera exposes for the bright exterior and the interior goes dark
- Using flash – creates flat, harsh lighting and red-eye
Step 6: Editing Your Photos
Basic editing can transform good photos into great ones. You don’t need Photoshop – free apps are sufficient.
Recommended free tools:
- Snapseed (iOS/Android) – powerful and easy to use
- Lightroom Mobile (iOS/Android) – free version is excellent
Basic adjustments to make:
- Brightness – slightly brighter than reality is fine for listing photos
- Contrast – add a small amount to make the boat pop
- Saturation – a small increase makes colours more vivid
- Straighten – make sure the horizon is perfectly level. A tilted horizon looks amateur.
- Crop – remove distracting elements at the edges
What not to do:
- Don’t over-saturate – the boat should look real, not like a painting
- Don’t use filters that change the colour dramatically
- Don’t edit out existing damage – this is misleading and destroys trust when buyers visit
Step 7: Selecting and Ordering Your Photos
You’ve taken 50+ photos. Now choose the best 15–25 for your listing.
Selection criteria:
- Sharp focus
- Good exposure – not too dark or too bright
- Shows what you intended to show
- Clean background with no distracting elements
Recommended photo order:
- Best full profile shot (port side)
- Starboard full profile
- Cockpit looking forward
- Helm and instruments
- Saloon looking forward
- Saloon looking aft
- Galley
- Master cabin
- Guest cabin
- Heads
- Navigation station
- Engine bay
- Bilge
- Bow shot
- Stern shot
- Any notable features or recent upgrades
Pro Tip: Your first photo is the most important. It’s the thumbnail that buyers see in search results. Choose your absolute best, most flattering shot as the lead image – usually the port side full profile in good light.
Common Photography Mistakes to Avoid
- ❌ Shooting a dirty or cluttered boat
- ❌ Shooting in harsh midday light with deep shadows
- ❌ Not enough photos – buyers want to see everything
- ❌ All photos from the same angle and distance
- ❌ Dark interior shots where nothing is visible
- ❌ Including people in the photos (distracts from the boat)
- ❌ Shooting vertically (portrait) instead of horizontally (landscape)
- ❌ Forgetting the engine bay and bilge
- ❌ Using a heavily distorted ultra-wide lens that misrepresents the space
Your Photography Checklist
| Area | Shots to include |
|---|---|
| Exterior | Port profile, starboard profile, bow, stern |
| Cockpit | Forward view, aft view, helm, instruments |
| Deck | Mast, furling, windlass, hardware |
| Saloon | Forward view, aft view, nav station |
| Galley | Overall, storage |
| Cabins | Each cabin with berths made up |
| Heads | Clean overall shot |
| Engine | Engine bay, hours on display |
| Bilge | Clean and dry |
| Details | Any recent upgrades or notable features |
Ready to list your boat with great photos? Create your free listing on boatmarket24.com – no commission, no hidden fees.